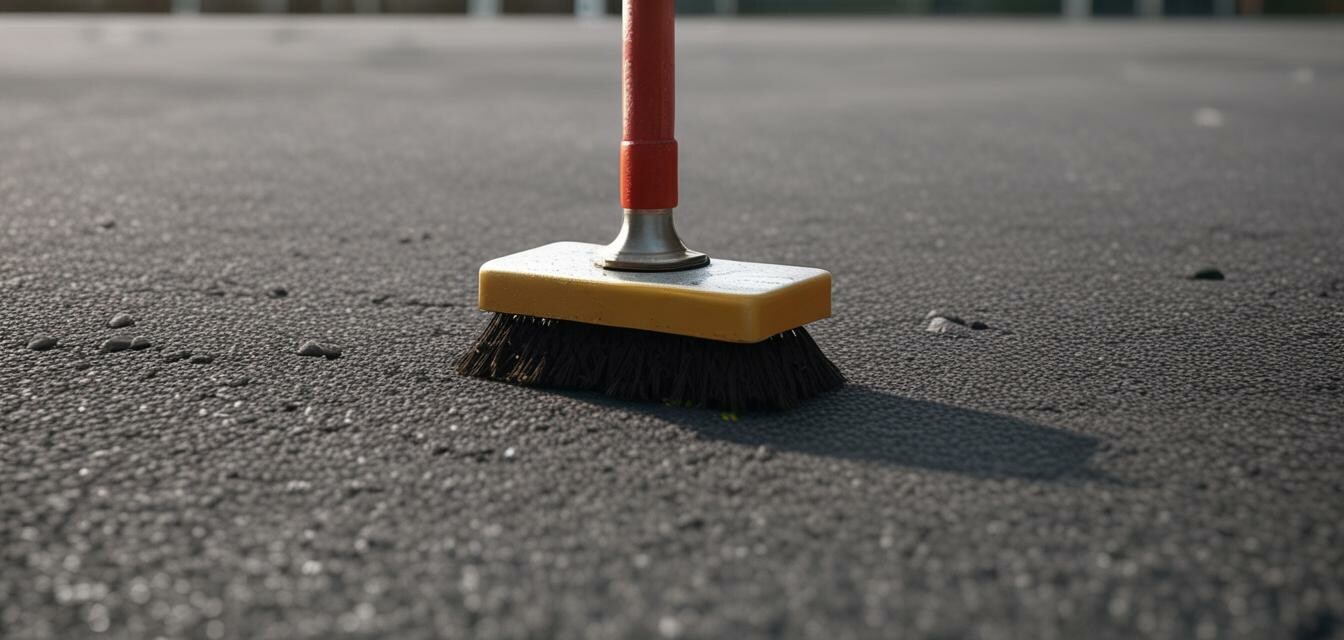
Tips for preparing asphalt before sealant application
Key Takeaways
- Ensure the asphalt surface is clean and free of debris.
- Repair any significant cracks or holes prior to sealant application.
- Power wash the area to increase adhesion.
- Allow the asphalt to cure fully before applying sealants.
- Watch the weather—ensure dry conditions before application.
Applying sealant to your asphalt surface is an essential step in maintaining its durability and appearance. However, preparing the asphalt beforehand is crucial for achieving the best results. This guide provides you with the essential steps for preparing asphalt surfaces prior to applying sealants, ensuring maximum adhesion and longevity. Let’s dive into the important techniques that will help you achieve professional results.
Why is preparation important?
Proper preparation of the asphalt surface ensures that the sealant adheres effectively, allowing it to provide maximum protection against wear, tear, and environmental factors. Failing to prepare adequately can lead to premature peeling or cracking of the sealant, decreasing the lifespan of your asphalt.
Steps for preparing your asphalt surface
-
Clear the area:
- Remove any loose debris, like leaves and dirt.
- Pick up large items that could interfere with your work.
-
Inspect for damage:
- Look for cracks or holes.
- Identify any areas that may need repairs before sealing.
-
Repair cracks and holes:
- Use asphalt patching material for larger holes.
- For cracks, apply a suitable crack filler.
-
Clean the surface:
- Utilize a power washer or a broom to remove loose particles.
- Ensure that the surface is completely clean before proceeding.
-
Allow for curing:
- Make sure that your asphalt is fully cured.
- This usually takes about 30 days for new asphalt.
-
Check the weather:
- Only apply sealant on clear and dry days.
- Avoid rainy or extremely humid days that could harm adhesion.
Tools and materials needed
| Tool/Material | Purpose |
|---|---|
| Power washer | To clean the asphalt surface effectively. |
| Crack filler | To fill in cracks and prevent further damage. |
| Asphalt patching material | To repair larger holes. |
| Broom or blower | To remove debris. |
| Sealant | To protect and enhance the asphalt surface. |
Additional tips for successful sealant application
Tips for beginners
- Always read the manufacturer's instructions for sealant application.
- Test a small area to ensure the sealant meets your expectations.
- Use a roller for a smooth finish when applying sealant.
- Avoid applying sealant too thickly, as it may lead to curing issues.
- To achieve a better seal, consider applying a second layer after the first dries.
Conclusion
Preparing your asphalt surface before sealant application is vital for ensuring a durable and long-lasting finish. By following these essential steps, you can effectively solidify your asphalt and maximize the benefits of sealants. Remember, proper preparation is key to achieving optimal results in your asphalt paving projects.
Pros
- Enhances the lifespan and durability of asphalt surfaces.
- Improves the aesthetic appearance of the asphalt.
- Prevents damage from water, UV rays, and other environmental factors.
- Can save money on future repairs when done correctly.
Cons
- Requires time and labor for proper preparation.
- Inadequate preparation can lead to sealant failure.
- Weather conditions can affect the sealing process.
Explore more resources
For more insights into asphalt maintenance, check out our other guides:

