Repairing Small Asphalt Cracks: A How-To Guide
Key Takeaways
- Identify the type of crack to choose the right repair method.
- Use quality sealants and fillers for effective repairs.
- The right tools can simplify the repair process.
- Perform regular maintenance to extend the lifespan of your asphalt surfaces.
Asphalt surfaces are durable, but over time they can develop cracks due to wear and tear, weather conditions, and other factors. This guide provides you with the necessary steps to repair small asphalt cracks, ensuring your pavement remains in top condition. Whether you're a seasoned DIY enthusiast or just starting, these methods and products will help you tackle those pesky cracks with confidence.
Identifying the Type of Asphalt Crack
Before you dive into repairs, it’s critical to understand the type of crack you are dealing with. Cracks in asphalt can be categorized into several types:
- Surface Cracks: These are thin and often caused by sun exposure and aging.
- Fatigue Cracks: Also known as alligator cracks, these are small interconnected cracks that resemble an alligator's scales and are typically due to structural failure.
- Transverse Cracks: These run perpendicular to the pavement's centerline and result from temperature changes.
Essential Tools and Materials
Having the right tools and materials is essential for an effective repair job. Consider getting the following:
| Tool/Material | Description |
|---|---|
| Asphalt crack filler | A sealant designed to fill and seal small cracks in asphalt surfaces. |
| Pavement scraper | A tool to remove debris and loose material from cracks. |
| Putty knife | For applying filler into the crack. |
| Caulking gun | For applying sealant or caulk precisely. |
| Pressure washer (optional) | To clean the area before repairs, ensuring better adhesion. |
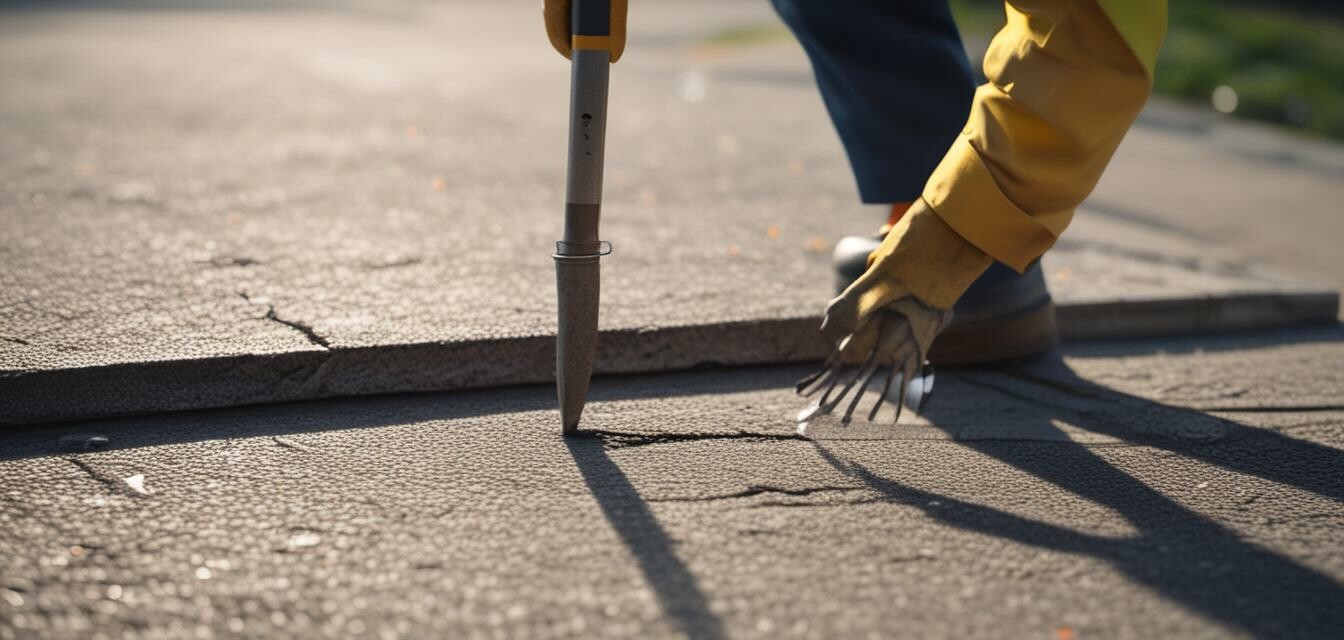
Step-by-Step Repair Process
Follow these steps to repair small asphalt cracks effectively:
- Clean the Area: Start by removing any debris, dirt, or loose asphalt from the cracks. You can use a pavement scraper or a pressure washer for thorough cleaning.
- Assess the Cracks: Determine the depth and width of the cracks to choose the appropriate filler or sealant.
- Apply Filler: Use a putty knife or caulking gun to apply asphalt crack filler into the cracks. Ensure the filler is slightly overfilled to allow for settling.
- Smooth the Surface: Use your putty knife to smooth the surface of the patch, blending it with the surrounding asphalt.
- Allow to Cure: Follow the manufacturer's instructions on curing time before allowing traffic on the repaired area.
Recommended Products for Asphalt Crack Repair
Choosing the right product can make a significant difference in the success of your repair. Here are two highly recommended options:
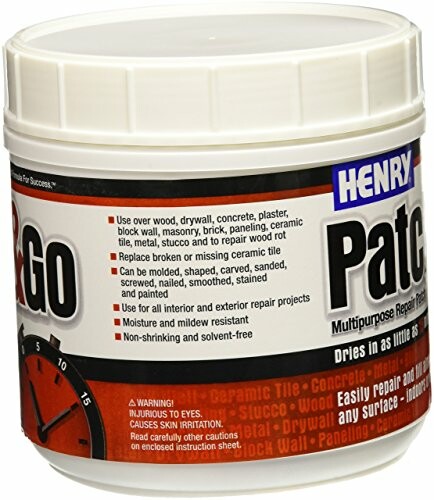 Durable and easy to use
12226 LB Go Patch Kit, 1 lb
This product adds great value with highly durable and easy-to-use features.
Learn More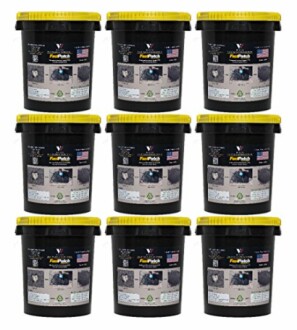 Lasting Asphalt Repair
FASTPATCH DPR Pourable Asphalt Repair 5-Gal Kit
Excellent adhesion, quick open to traffic, and perfect for colder climates.
Learn MoreRegular Maintenance Tips
To keep your asphalt surfaces in optimal condition, consider the following maintenance tips:
- Regularly inspect your asphalt for cracks and address them promptly.
- Sealcoat your asphalt every 1-3 years to protect it from the elements.
- Avoid parking heavy vehicles on the pavement for extended periods to reduce stress on the surface.
Conclusion
Repairing small asphalt cracks is an essential maintenance task that can significantly extend the life of your asphalt surfaces. By following the steps outlined in this guide and using quality materials, you can achieve professional results and keep your property looking great.
For more resources on maintenance and tools, check out our maintenance equipment resources or explore our comprehensive asphalt paving techniques guide for further insights.