Preparing a site for asphalt paving: Best practices
Key Takeaways
- Site assessment is crucial for successful asphalt paving.
- Proper grading ensures optimal drainage and longevity of the asphalt.
- Installing the right foundation materials is essential.
- Implementing proper compaction techniques will enhance the integrity of the pavement.
- Regular maintenance checks can prevent costly repairs in the future.
Asphalt paving is an essential project for many contractors, property owners, and DIY enthusiasts. Before starting the paving process, it is vital to prepare the site effectively. In this guide, we will explore the key steps required to prepare a site for asphalt paving. This preparation ensures a sturdy, durable surface that will last for years. Let's dive into the best practices for site preparation!
1. Conduct a thorough site assessment
The first step in preparing your site is a comprehensive assessment. This includes examining the land's topography, identifying drainage patterns, and considering potential challenges such as nearby trees or structures. Here are some crucial factors to consider during the assessment:
| Factor | Considerations |
|---|---|
| Topography | Is the land flat or sloped? Are there any depressions? |
| Drainage | Where does the water flow? Are there existing drainage systems? |
| Obstructions | Are there trees, power lines, or other structures nearby? |
| Soil Conditions | Is the soil stable? Does it need to be tested for strength? |
2. Ensure proper grading
Grading is crucial in site preparation as it influences drainage and stability. Make sure to:
- Excavate high spots and fill in low areas.
- Create a slight slope for proper drainage.
- Consider using professional equipment for larger areas to ensure even grading.
Grading tools and equipment
Depending on the size of the job, you may require different tools. Here’s a simple table that outlines grading tools:
| Tool | Use |
|---|---|
| Laser Level | For accurate leveling and slope creation. |
| Grader | Heavy machinery for large grading jobs. |
| Hand Rake | For manual adjustments and fine-tuning. |
3. Choose the right base materials
The materials used underneath the asphalt can significantly affect its longevity and performance. Common base materials include:
- Crushed stone: Provides excellent drainage.
- Gravel: A cost-effective option for stable foundations.
- Sand: Useful for leveling and drainage.
Base preparation tips
Once you choose your base material, ensure you:
- Spread the material uniformly across the site.
- Use a compactor to densify the base material properly.
- Check that the thickness meets the required standards for your project.
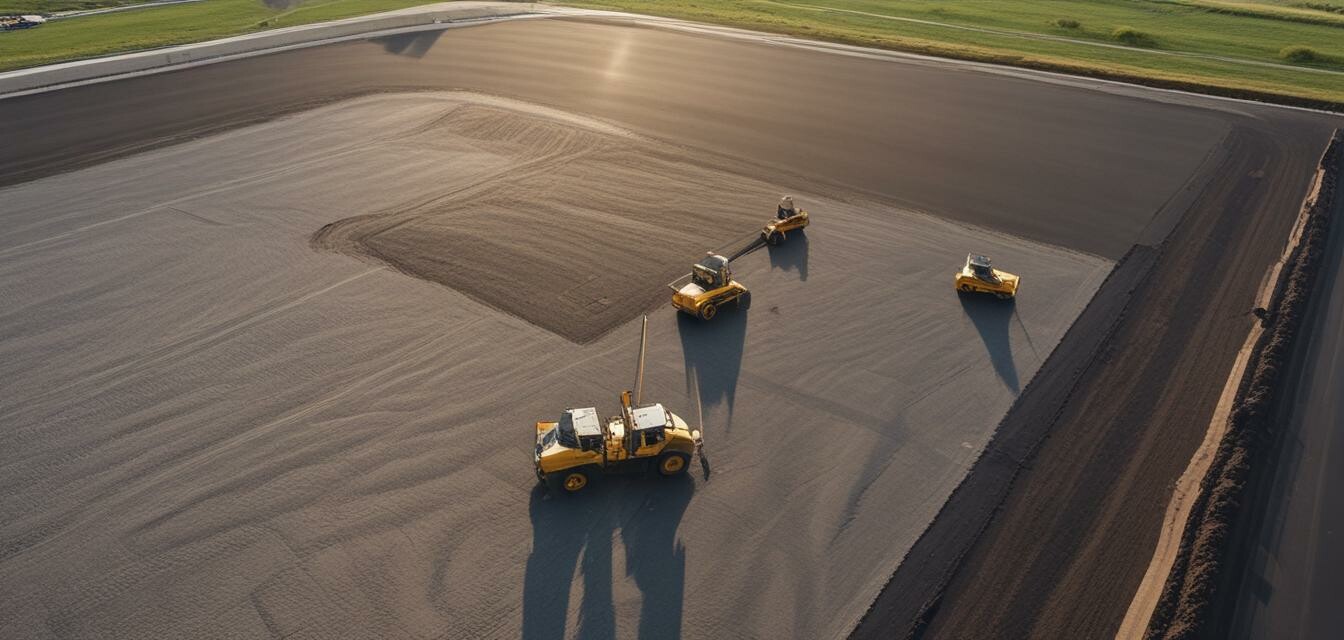
4. Implement proper compaction techniques
Proper compaction is essential for creating a stable base. Poor compaction can result in settling or cracking over time. Follow these steps:
- Use a plate compactor or roller to achieve a dense surface.
- Make multiple passes to ensure thorough compaction.
- Conduct a compaction test to ensure the sub-grade is ready for asphalt.
5. Prepare for installation day
On the paving day, make sure everything is ready. Here’s a checklist to ensure a smooth process:
- Confirm your equipment is in good condition.
- Set up safety barriers and signage to protect workers and bystanders.
- Double-check your asphalt mix delivery schedule.
Asphalt paving checklist
Your checklist for the paving day could look something like this:
| Task | Status |
|---|---|
| Site Preparation Check | ✔ |
| Equipment Test | ✔ |
| Mix Delivery Confirmation | ✔ |
| Safety Measures in Place | ✔ |
6. Maintenance considerations after paving
Once you’ve completed the paving, ongoing maintenance is the key to longevity. Regular check-ups and necessary repairs can prevent bigger issues down the road, such as:
- Cracking: Fill cracks promptly to prevent water penetration.
- Surface wear: Seal coat regularly to protect the asphalt surface.
- Drainage: Ensure that drainage systems are working efficiently.
Tips for beginners
- Consult with professionals for advice on complex projects.
- Understand your local regulations regarding paving before beginning.
- Keep learning! Resources like how-to guides can help sharpen your skills.
Pros
- A well-prepared site ensures long-lasting asphalt.
- Good drainage prevents future damage.
- Proper foundation materials enhance durability.
Cons
- Site preparation can be time-consuming.
- Requires investment in proper equipment and materials.
- May require professional assistance for grading and compaction.
Preparing a site for asphalt paving may seem daunting, but following these best practices will lead to successful results. Whether you are a contractor or a DIY enthusiast, these insights will help you achieve a durable, smooth asphalt surface that stands the test of time.
For further reading, consider checking out more resources in our Blog category or browse through our diverse Product Categories for the right tools and materials.