How to Repair Large Asphalt Cracks Using Henry Patch
Key Takeaways
- Henry Patch & Go is an effective solution for filling large asphalt cracks.
- Preparation of the surface is crucial for effective bonding.
- Using the right tools can significantly ease the repair process.
- Proper curing time is essential for long-lasting repairs.
- Regular inspection of asphalt surfaces can prevent more extensive damage.
Asphalt cracks can be a nuisance and, if left unattended, can lead to larger problems. Fortunately, repairing large asphalt cracks is a straightforward process when you have the right materials and guidance. In this article, we will go through step-by-step instructions on using Henry Patch & Go to effectively fill larger cracks, ensuring that your asphalt surfaces remain durable and reliable.
Why Choose Henry Patch & Go?
Henry Patch & Go is a highly durable solution designed specifically for asphalt repairs. It provides an easy-to-use formula that’s perfect for both contractors and DIY enthusiasts. Here’s why it’s a top choice:
- It adds great value to your asphalt repair projects.
- It is manufactured in the United States, ensuring high quality.
- The formulation is easy to use, even for beginners.
Tools and Materials Needed
Before we begin, gather the following tools and materials for a successful repair:
- Henry Patch & Go: For filling cracks.
- Wire brush: For cleaning out existing cracks.
- Trowel: For applying the patch material.
- Garden hose: For cleaning the area.
- Safety gloves: To protect your hands.
Step-by-Step Instructions to Repair Large Asphalt Cracks
Step 1: Inspect the Cracks
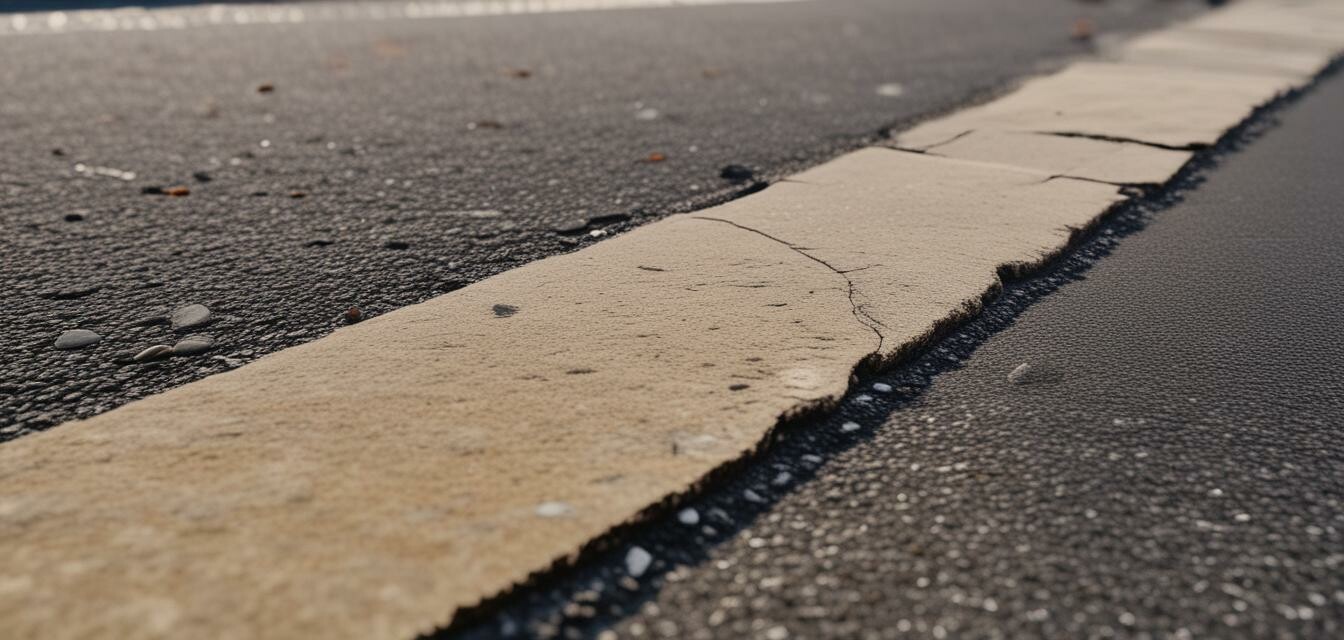
Start by inspecting your asphalt surface to determine how deep and wide the cracks are. For best results, target cracks that are at least 1/2 inch wide.
Step 2: Clean the Area
Use a wire brush to remove any debris, dirt, or loose asphalt around the cracks. This is critical as a clean surface allows for better adhesion of the patch material.

Step 3: Prepare the Repair Material
Open the Henry Patch & Go and mix it if necessary. Follow the manufacturer’s instructions regarding any preparation steps needed before application.
Step 4: Apply the Patch
Use a trowel to apply the patch material into the cracks. Ensure the material is slightly overfilled to allow for settling.
Step 5: Smooth the Surface
After applying the patch, use the trowel to smooth the surface to an even finish. This will help blend the patch with the surrounding asphalt.
Step 6: Allow to Cure
Let the patch cure for the time specified on the product instructions. This is crucial for achieving the desired durability and longevity.
Aftercare and Maintenance
Once the patch is completely cured, ensure you check the area regularly. Regular maintenance can prevent new cracks from forming and ensure your asphalt surfaces remain in top condition.
For more information on asphalt maintenance, explore our resources on asphalt paving techniques or maintenance equipment.
Conclusion
Repairing large asphalt cracks using Henry Patch & Go is a practical task that can prolong the life of your asphalt surfaces. By following the steps outlined above, you can achieve professional results while minimizing the risk of further damage. Don’t forget to keep an eye on your asphalt, and address any issues promptly for best results.
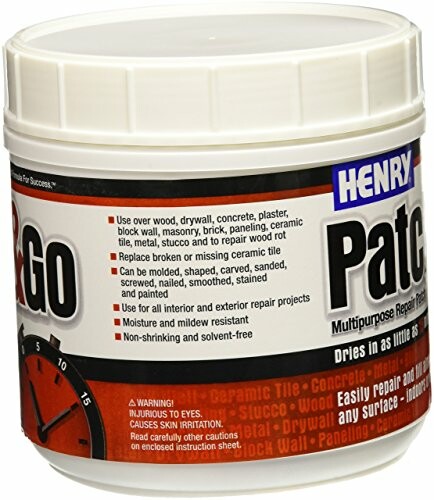
12226 LB Go Patch Kit, 1 lb
Henry Patch & Go is highly durable and very easy to use, offering great value for your asphalt repair projects.
Learn MorePros
- Easy application process.
- Durable and long-lasting results.
- Manufactured in the USA.
Cons
- Requires a clean surface for best results.
- Needs proper curing time.
Additional Resources
For more guides and information on asphalt paving, check out the following:

