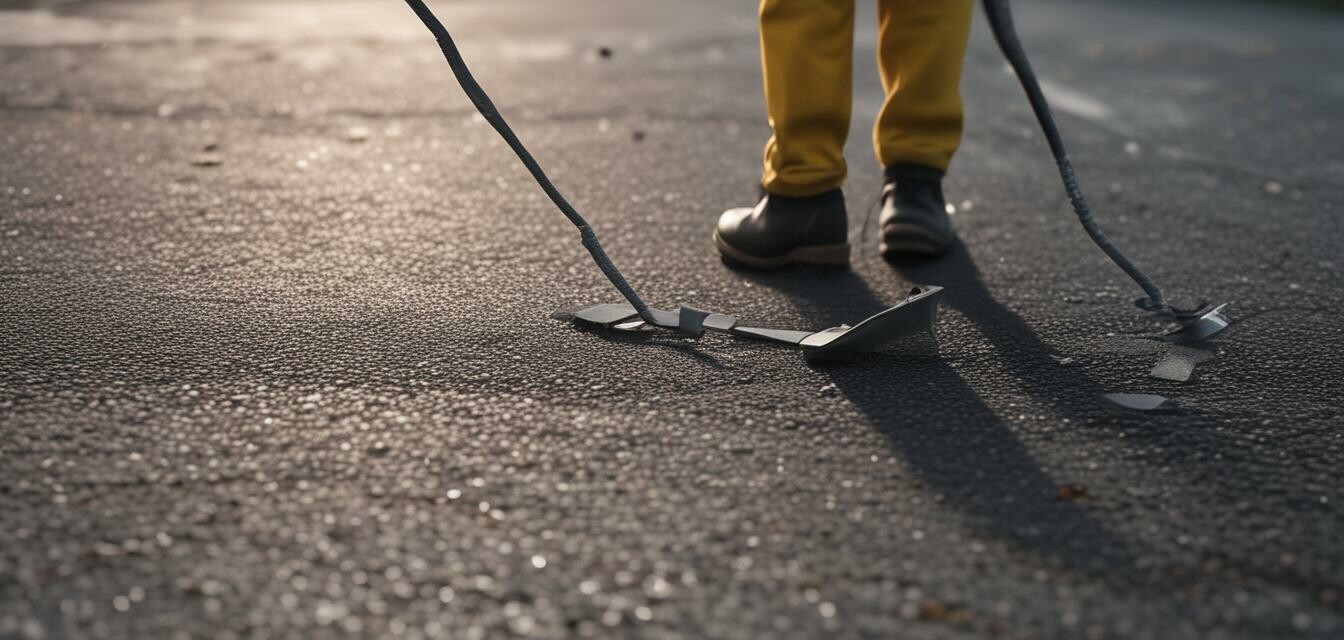
DIY Guide to Asphalt Surface Preparation
Key Takeaways
- Proper surface preparation is essential for effective sealing and repair of asphalt surfaces.
- Cleaning the surface thoroughly removes dirt, debris, and old sealant for better adhesion.
- Filling minor cracks is crucial to prevent water infiltration and surface damage.
- Tools required include brooms, pressure washers, crack fillers, and sealants.
- Regular maintenance helps extend the life of your asphalt surface.
Preparing asphalt surfaces for sealing and repair is a crucial step that ensures longevity and durability. Whether you are dealing with a driveway, parking lot, or any other asphalt surface, proper preparation can greatly enhance the effectiveness of your sealing efforts and prevent further damage. In this guide, we’ll take you through the essential steps to prepare your asphalt surface like a pro.
Step 1: Assess the Condition of the Asphalt
Before starting the cleaning and filling process, assess your asphalt surface for any major damages. Look for cracks, holes, and varying levels of wear. This will help you determine the scope of work needed and what materials you should prepare. If you find larger holes or severe cracks, you may need to consult a professional for repairs.
Step 2: Gather Required Tools and Materials
Here are the tools you'll need to effectively prepare your asphalt surface:
- Broom or leaf blower
- Pressure washer
- Crack filler materials
- Sealant (for later application)
- Protective gear (gloves, goggles)
Step 3: Clean the Asphalt Surface
Cleaning is the first crucial step in surface preparation. Follow these steps:
- Use a broom or leaf blower to remove surface debris such as leaves and dirt.
- Pressure wash the asphalt to remove oil spots, grime, and old sealant.
- Allow the surface to dry completely before moving to the next step.
Step 4: Fill Minor Cracks
Once the surface is clean, it is time to address any minor cracks. Here's how:
- Inspect the cracks carefully and ensure they are clean and free of debris.
- Apply crack filler according to the manufacturer's instructions, ensuring it fills the crack completely.
- Let it dry completely before proceeding with any sealing.
Step 5: Apply Sealant (Optional Step)
If desired, after cracks are filled and dried, you can proceed to apply a sealant. Make sure to follow these guidelines:
- Choose a sealant that matches your asphalt's condition and what is most appropriate based on climatic conditions.
- Use a squeegee or roller for an even application.
- Allow sealant to dry according to the product instructions before using the surface.
Maintenance Tips
Regular upkeep can prolong the life of your asphalt surfaces. Here are some maintenance tips:
- Perform regular cleaning to remove debris.
- Inspect for new cracks and address them promptly.
- Reapply sealant every few years, or as recommended.
Pros
- Cost-effective way to maintain your asphalt surfaces.
- Improves the appearance and lifespan of asphalt.
- Helps prevent significant damage from water infiltration.
Cons
- Requires time and effort for proper execution.
- May need specialized tools for efficient cleaning.
Conclusion
Proper preparation of your asphalt surface is key to ensuring its longevity and functionality. By following these steps closely, you can effectively clean, fill cracks, and maintain your asphalt surfaces. Ready to learn more about maintaining your asphalt investment? Check out our detailed guide on other helpful how-to guides for asphalt paving.

