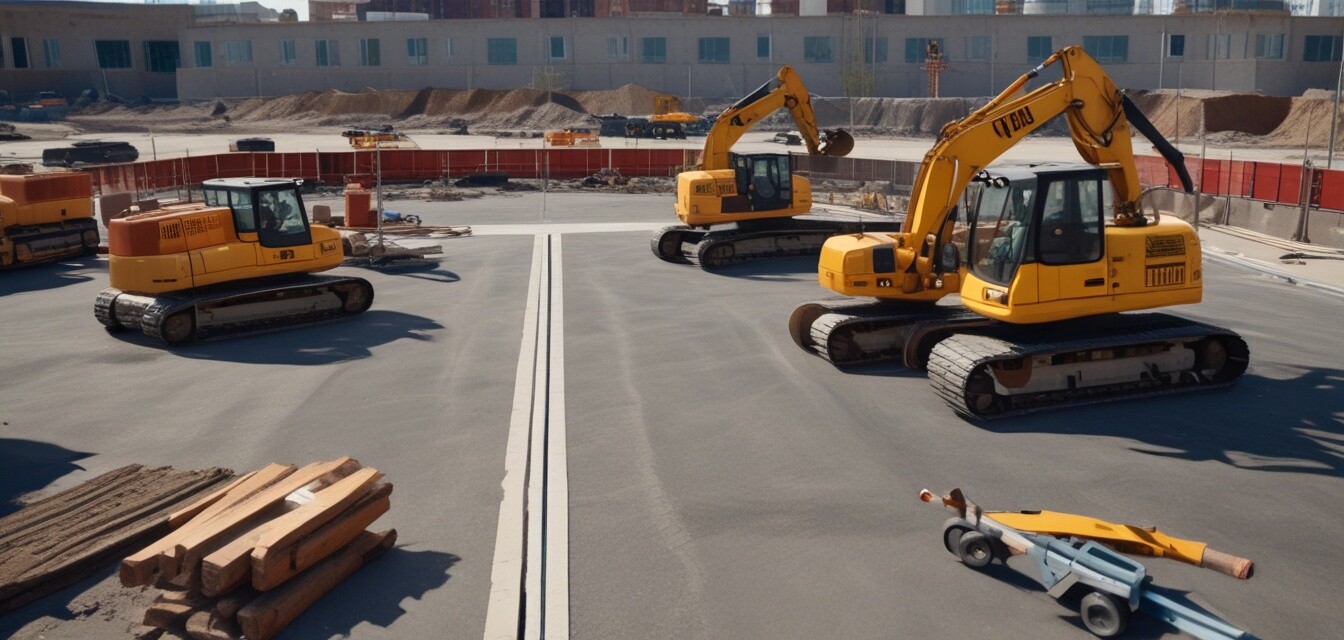
Creating a Successful Asphalt Project Timeline
Key Takeaways
- Understanding key phases and tasks is crucial for a successful project.
- Incorporate milestones to gauge progress effectively.
- Regularly review and adjust your timeline as the project progresses.
- Communication with your team is essential for sticking to planned timelines.
- Utilize technology and tools to streamline planning and execution.
Creating a timeline for your asphalt project is an essential step in ensuring that everything runs smoothly. Whether you are a contractor overseeing a large job or a homeowner planning a DIY asphalt paving project, a detailed timeline will help you stay organized, on schedule, and within budget. This guide will provide you with the information you need to develop an effective asphalt project timeline, outlining key phases and milestones along the way.
Understanding the key phases of an asphalt project
An asphalt paving project typically involves several crucial phases. Breaking down the project into manageable segments allows you to assign tasks, set deadlines, and monitor progress. Here are the primary phases to consider:
| Phase | Description | Estimated Duration |
|---|---|---|
| Planning | Define the scope, budget, and resources needed for the project. | 1-2 weeks |
| Site Preparation | Clear and grade the site, ensuring a solid foundation for the asphalt. | 1-3 days |
| Material Acquisition | Order necessary asphalt mixes and equipment for the job. | 1 week |
| Asphalt Application | Lay the asphalt according to specifications. | 1-5 days |
| Compaction | Compact the asphalt for a solid finish and optimal durability. | 1 day |
| Cleanup and Inspection | Remove equipment from the site and inspect the work done. | 1-2 days |
Setting milestones to measure progress
Milestones help you track the progress of your project. Establishing milestones can create accountability and allow for adjustments as necessary. Here are some common milestones:
- Completion of site preparation
- Delivery of asphalt materials
- Start of asphalt application
- End of compaction process
- Final inspection and sign-off
Creating a timeline
Once you have outlined the phases and identified the milestones, it's time to create your timeline. Here are some tips to create an effective asphalt project timeline:
Tips for creating your timeline
- Use project management software: Tools like Gantt charts can visualize your timeline effectively.
- Be realistic: Don’t underestimate the time required for tasks. Include buffer time for unexpected delays.
- Communicate with your team: Hold regular meetings to ensure that everyone is aware of their responsibilities.
- Revisit your timeline regularly: Make adjustments based on real-world progress and challenges encountered.
Conclusion
A well-structured timeline is vital for the success of your asphalt project. By following the guidelines outlined in this article, you can create a clear path from planning to completion. Remember to stay flexible and adapt to changes as necessary. For further tips and resources on asphalt projects, be sure to check out our How-To Guides and product evaluations.
Pros
- Provides clarity on project goals.
- Facilitates communication within the team.
- Helps avoid budgeting and scheduling issues.
- Ensures timely completion of the project.
Cons
- May require adjustments due to unexpected factors.
- Can be time-consuming to create initially.
- Requires constant updates as the project progresses.

