The Complete Process of Asphalt Sealcoating
Key Takeaways
- Sealcoating is essential for maintaining asphalt surfaces.
- Proper preparation and application ensure longevity and effectiveness.
- Using high-quality materials and tools is crucial for successful results.
- Follow the right steps and best practices to achieve a professional finish.
Asphalt sealcoating is a vital maintenance procedure that extends the life of your asphalt surfaces. Whether it's a driveway, parking lot, or road, sealcoating protects against deteriorating agents like UV rays, water, and oil. In this guide, we will take you through the complete process of asphalt sealcoating, detailing each step, materials required, and best practices.
Understanding the Importance of Sealcoating
Sealcoating should not be overlooked if you want to preserve the integrity of your asphalt surfaces. Here are several reasons why it’s important:
- Protection: Sealcoating provides a protective barrier against harmful elements.
- Cost-effective: Regular maintenance can save you money by delaying costly repairs.
- Aesthetic Appeal: Sealcoating restores the dark black look of fresh asphalt, improving the appearance significantly.
Materials Required
Before starting the sealcoating process, gather all necessary materials. Below is a table of the tools and supplies required:
| Materials | Description |
|---|---|
| Asphalt Sealant | High-quality sealant designed specifically for asphalt. |
| Pavement Cleaner | Removes dirt, grease, and debris from the surface. |
| Hand Tools | Trowels, brushes, and squeegees for application. |
| Pressure Washer | For deep cleaning of the asphalt surface before sealing. |
| Safety Gear | Gloves, goggles, and masks to ensure safety during the process. |
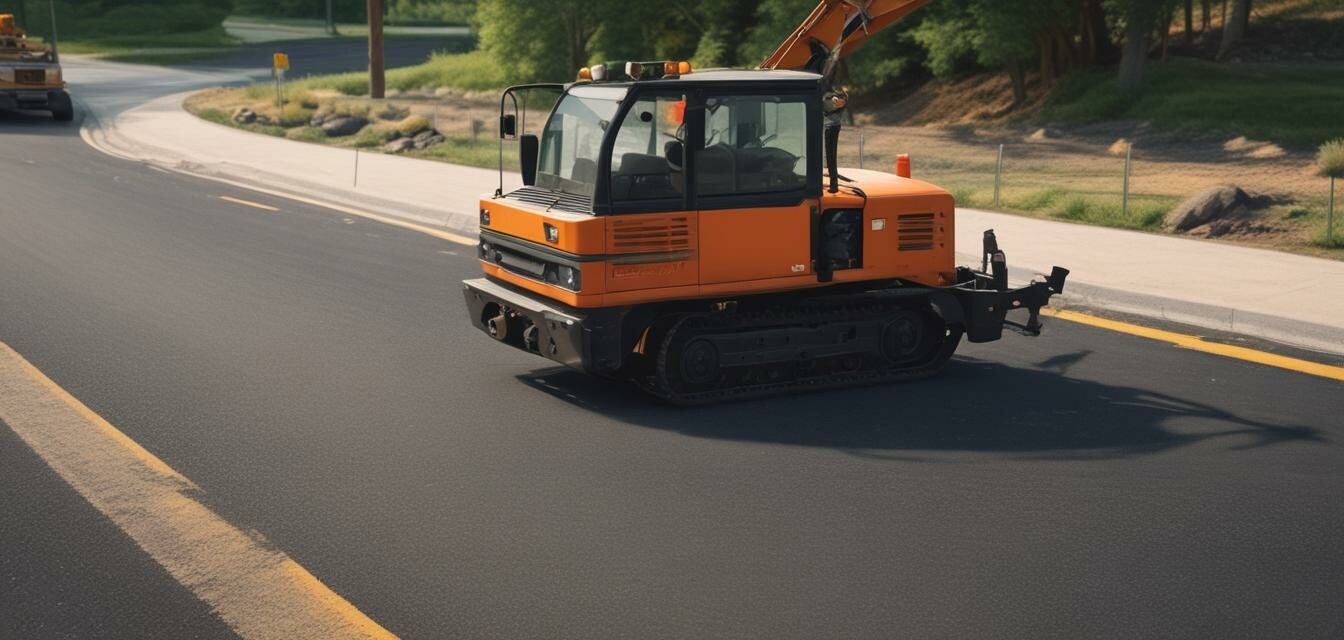
Step-by-Step Sealcoating Process
Follow these detailed steps for a successful sealcoating job:
- Preparation: Clean the surface thoroughly.
- Use a pressure washer to remove any dirt and debris.
- Fill cracks with a crack filler.
- Patching: Inspect for any potholes or larger cracks.
- Repair these areas with asphalt patching material.
- Application: Prepare the sealant according to the manufacturer's instructions.
- Apply sealant using a squeegee or spray system.
- Ensure even coverage across the entire surface.
- Setting Time: Allow the sealant to cure.
- Prevent traffic on the surface for at least 24-48 hours.
- Maintenance: Regularly maintain the surface post application.
- Inspect for damage and clean the area as needed.
Best Practices for Success
To achieve a professional result, keep the following best practices in mind:
- Always sealcoat in dry weather conditions.
- Choose products suitable for your climate.
- Apply the sealant in thin, even layers.
- Keep the area clear of vehicles until fully cured.
Tips for Beginners
If you're new to sealcoating, here are some tips to help you:
- Start with a small area to practice your application technique.
- Follow the manufacturer's instructions closely to avoid issues.
- Wear protective gear to avoid skin and respiratory irritation.
- Consider enlisting help; sealcoating can be a labor-intensive task.
Conclusion
Sealcoating is a crucial aspect of asphalt maintenance that shouldn’t be skipped. Following the complete process outlined in this guide will help you ensure your asphalt surfaces remain in good condition and last for many years. For more resources on asphalt paving materials, explore our sealants and crack fillers or maintenance equipment.
Pros
- Enhances the appearance of asphalt.
- Prevents costly repairs.
- Extends the life of paved surfaces.
Cons
- Requires specific weather conditions for best results.
- Time-consuming preparation and application process.
- Initial cost for materials can be high.