A Beginner's Guide to DIY Asphalt Repair
Key Takeaways
- Understand the types of asphalt repairs for your project.
- Gather essential tools and materials before starting.
- Follow step-by-step techniques for effective results.
- Utilize high-quality products like Go Patch Kit and Magic Crack Filler.
- Maintain your asphalt surfaces regularly for longevity.
If you’re a homeowner looking to tackle small asphalt repair projects, you've come to the right place! This guide will walk you through the essential tools, materials, and step-by-step processes needed to successfully repair your asphalt surfaces. We will also explore useful products that can simplify the work and ensure professional-quality results.
Understanding Asphalt Repair
Before diving into the hands-on work, it's vital to understand the different types of asphalt repairs you might encounter:
- Crack filling: Treating small cracks to prevent them from widening.
- Patch repair: Fixing sections of asphalt that are damaged or have potholes.
- Resurfacing: Applying a new layer of asphalt over an existing surface.
Essential Tools for Asphalt Repair
Having the right tools will make any asphalt repair job smoother and more efficient. Here's a list of essential tools you should gather:
| Tool | Purpose |
|---|---|
| Pavement scraper | To clean the area of debris or loose asphalt. |
| Caulking gun | For applying crack filler or sealant. |
| Trowel | For spreading patch materials evenly. |
| Roller | To compact the patch material. |
| Bucket | For mixing materials if necessary. |
Key Materials for Your Asphalt Repair Project
In addition to tools, you’ll need quality materials tailored for asphalt repairs. Here are some recommended products:
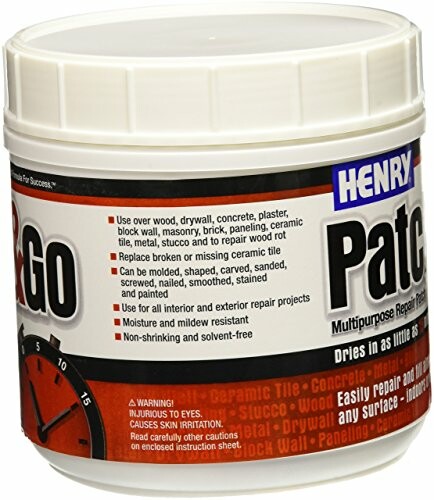
12226 LB Go Patch Kit
This kit is extremely easy to use and delivers exceptional durability for your asphalt repairs.
Learn MoreAnother excellent product to consider is:
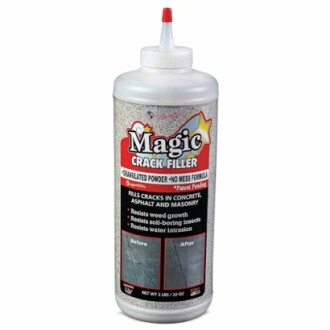
Magic Crack Filler 2LB
A great no-mess solution for filling cracks easily, suitable for various surfaces.
Learn MoreStep-by-Step Guide to Asphalt Repair
1. Prepare the Area
Start by cleaning the area around the damage:
- Use a pavement scraper to remove debris.
- If necessary, use a pressure washer to clean the area thoroughly.
- Let it dry completely before moving on to repairs.
2. Fill Cracks
If you're repairing cracks:
- Apply the crack filler using a caulking gun.
- Make sure to fill the crack completely, slightly overfilling it.
- Allow the filler to cure according to product instructions.
3. Patch Holes
For larger holes, follow these steps:
- Use a trowel to spread an even layer of patch material over the hole.
- Compact the material using a roller to ensure it bonds well.
- Let it dry completely before driving on it—check product instructions for specific drying times.
4. Regular Maintenance
To maintain your asphalt surface after repairs:
- Seal your asphalt every few years.
- Regularly clean it to prevent wear and tear.
- Promptly fill any new cracks or potholes to avoid bigger issues later.
Conclusion
DIY asphalt repair doesn't have to be daunting. With the right tools, materials, and techniques, you can restore your asphalt surfaces to their former glory and maintain them effectively. Don’t forget to utilize products like Go Patch Kit and Magic Crack Filler for optimal results!


