A Beginner’s Guide to Asphalt Overlay
Key Takeaways
- Understand the basics of asphalt overlay and its benefits.
- Learn essential preparation steps for a successful overlay.
- Follow a step-by-step process to apply asphalt overlay properly.
- Know about necessary tools and equipment for the job.
- Explore maintenance tips to prolong the life of your asphalt surface.
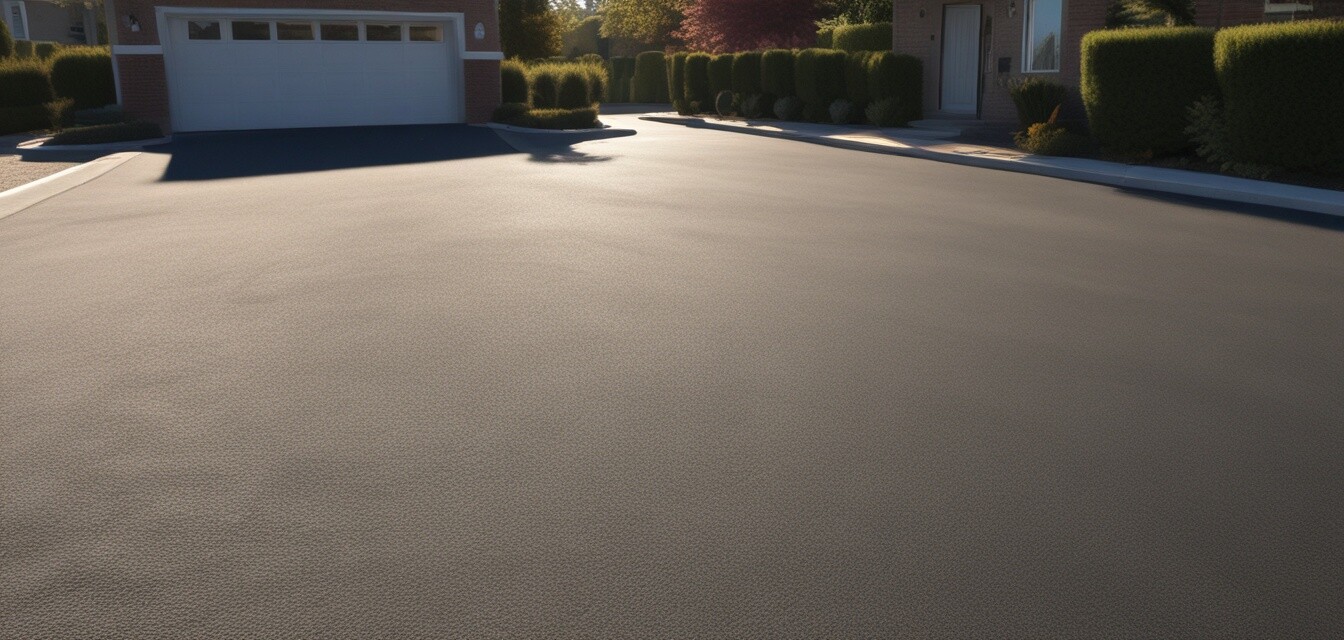
Asphalt overlay is a process that involves adding a new layer of asphalt over an existing surface. This technique can revitalize worn-out driveways, parking lots, and other asphalt surfaces. For beginners, the process may seem daunting, but with a clear guide, anyone can tackle it. In this article, we’ll take you through the essentials of performing an asphalt overlay effectively.
What is asphalt overlay?
Asphalt overlay is a cost-effective method designed to restore an asphalt surface without completely reconstructing it. By applying a new layer of asphalt, you can enhance appearance, improve safety, and extend the lifespan of the surface. It is particularly useful for surfaces with surface stress or minor cracking.
Benefits of asphalt overlay
- Cost-Effective: Rather than tearing out old asphalt, an overlay saves money.
- Quick Process: Overlays can be completed relatively quickly, minimizing disruption.
- Improved Appearance: A fresh layer gives a clean and smooth look.
- Added Durability: A new layer can help in managing weight loads and resist wear.
- Environmentally Friendly: It reuses existing materials, reducing waste.
Preparation for asphalt overlay
1. Assess the existing surface
Before applying an asphalt overlay, it is essential to evaluate the current condition of the surface. Examine for:
- Cracks: Look for visible cracking that may need filling.
- Potholes: Any holes should be repaired prior to overlay application.
- Drainage: Ensure that water drains correctly to prevent pooling.
2. Cleaning the surface
Cleaning is crucial for a successful overlay. Use a power washer or a broom to remove debris, dirt, and oil from the existing asphalt.
3. Repairing damages
Fill any cracks and potholes using a suitable asphalt patching compound. Ensure these repairs are smooth and level before proceeding.
Tools and equipment needed
Having the right tools on hand makes the process smoother. Below is a table of essential tools:
| Tool | Purpose |
|---|---|
| Power Washer | Clean the surface before applying overlays. |
| Asphalt Rake | Level and spread the asphalt evenly. |
| Hand Tamper | Compact asphalt during application. |
| Safety Gear | Protect yourself with gloves, goggles, and a mask. |
Step-by-step process for applying asphalt overlay
Let's break down the process into manageable steps:
- Prepare the Site: Clear the area of any vehicles and equipment.
- Clean the Surface: Use a power washer to remove dirt and debris.
- Repair Damages: Fill in cracks and potholes with an asphalt patching compound.
- Heat the Asphalt: If possible, heat the new asphalt for better adhesion and performance.
- Spread the Asphalt: Use an asphalt rake to spread the new layer evenly.
- Compact the Surface: Use a hand tamper to compact the asphalt after application.
- Allow for Curing: Let the new overlay cure for at least 24 hours before driving on it.
Post-application care
After you’ve applied the asphalt overlay, proper maintenance is key to its longevity. Here are some tips to ensure your surface remains in optimal condition:
Maintenance tips
- Regular Cleaning: Keep the surface clean to prevent buildup.
- Seal Coating: Consider applying sealer after a year to protect the surface.
- Prompt Repairs: Address any new cracks or damages quickly.
- Avoid Heavy Loads: Limit heavy vehicle traffic for the first few weeks after application.
Conclusion
Performing an asphalt overlay doesn’t have to be a daunting task, especially with this guide in hand. By following the proper steps and preparing adequately, you can improve the safety and appearance of your asphalt surfaces, adding value to your property.
For more guidance on tools and products for your paving projects, check out our guides on paving tools and sealants and crack fillers. Whether you are a DIY enthusiast or a professional contractor, you can find the resources you need to succeed.